.png?width=190&name=logo%20(1).png)
Finally, after many requests, lets get started with the step by step for creating the Tesla Cybertruck in Mastercam! It's about time!
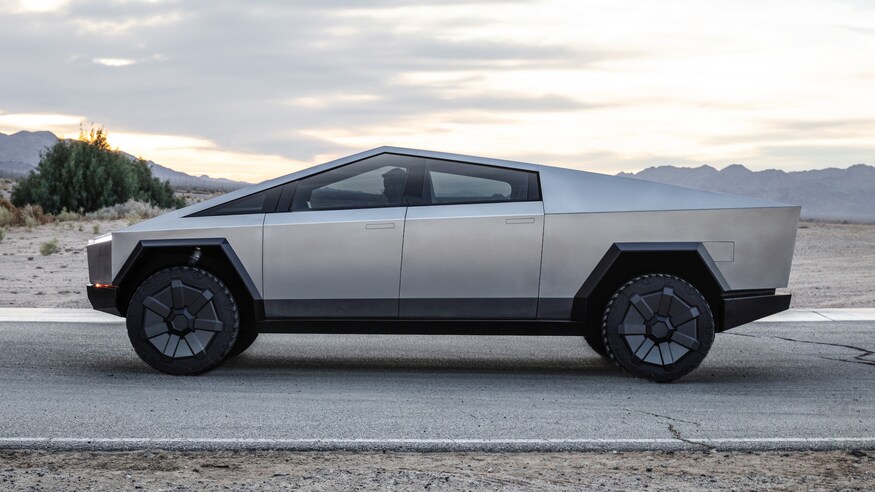
Here is the image you will need to follow along with the video...
(you may need to right click on the link and select 'save as'
Make note of where you saved the file as you will have to access it through the browse menu in Mastercam.
The intention was to get the part fully modeled in one video but it didn't work out that way. So, part 1 will cover importing the Tesla Cybertruck image linked above into Mastercam using the Raster to Vector function, then sketching the outline of the truck and tires. Next we scale and orient the model. You can choose your own scale based on the material size you want to use for machining but I would suggest following along with the sizes used for now, and then re-scaling after the modeling is complete. Otherwise your proportions may get out of sync with the video.
Part 2, will go through the solid and plane creation needed to turn this wireframe into a solid model. Depending on time and requests, we could add a third video to go over the tire wireframe and solid modeling.
For those looking for the completed model download, it will be linked at the end of Part 2.
Want to learn more about Mastercam? Check out;
camInstructor for Teachers - Independent Learners - Students


